When a powerful storm hits, your roof often takes the brunt of the impact. High winds, falling branches, and heavy rain can cause significant damage, sometimes enough to require immediate attention. If you’re facing roof storm damage and need temporary roof protection fast, learning how to tarp a roof safely can help prevent further issues like water intrusion and mold.
This step-by-step guide will walk you through the process of tarping a roof after a storm, provide essential safety tips, and help you decide whether to DIY or call in the professionals.
Why You May Need to Tarp a Roof
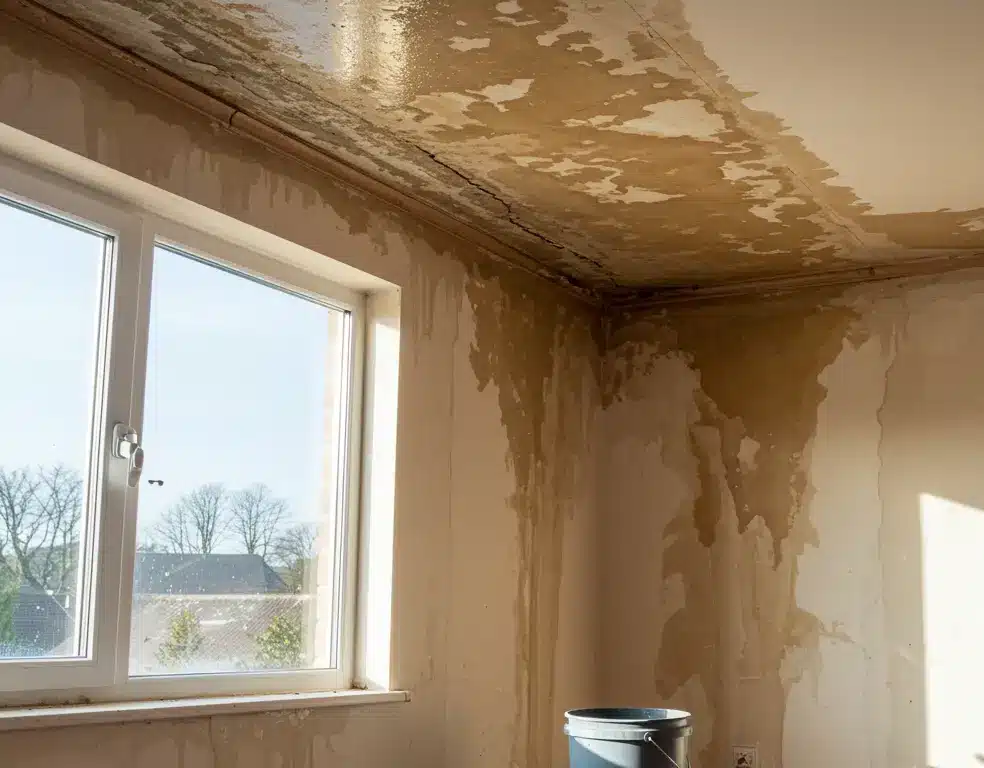
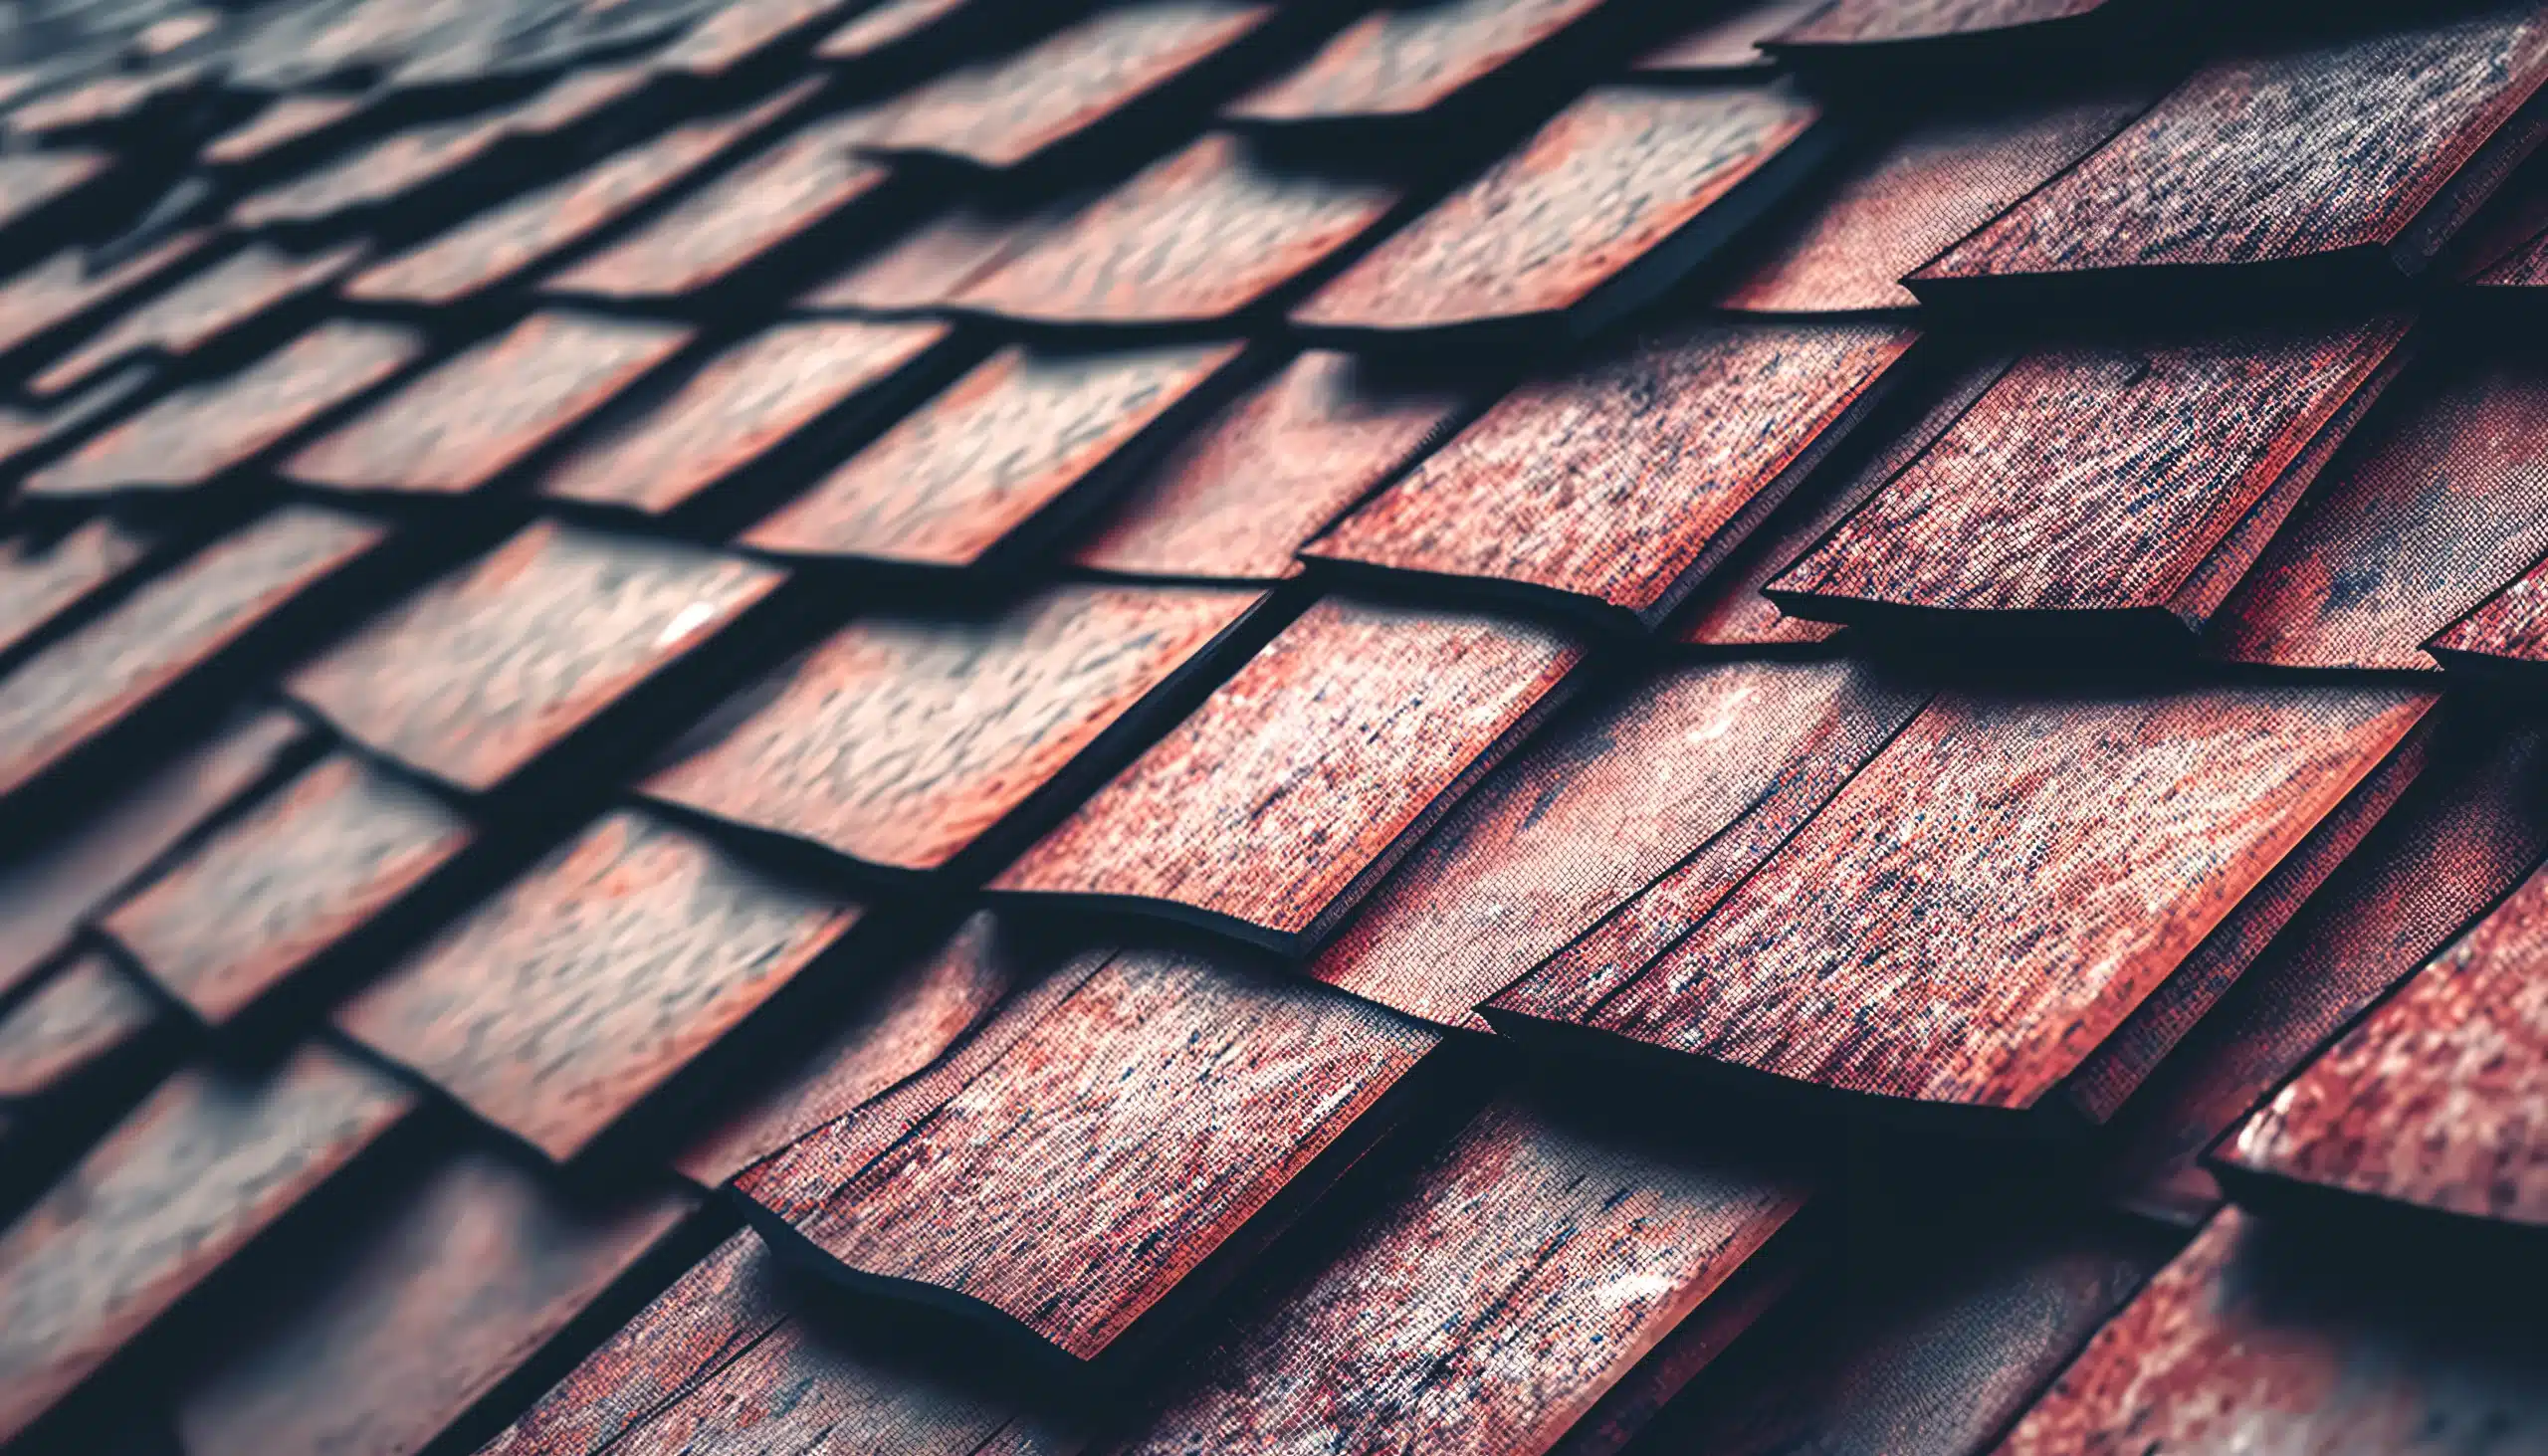
Storms can rip off shingles, crack flashing, or even cause tree limbs to puncture the roof deck. Tarping a roof after a storm acts as a temporary shield against rain, wind, and debris until permanent repairs can be made. Quick action can prevent more expensive problems, such as water leaks and ceiling stains, interior wall and insulation damage, mold and mildew growth, and structural issues from prolonged exposure. In places like Louisiana, where storm activity is common, understanding roof tarp installation can be crucial.
For a full checklist on what to do after a storm hits your roof, check out Owens Corning’s guide.
When It’s Safe (and Not Safe) to Tarp a Roof Yourself
Before grabbing your ladder, assess your situation carefully. It may be safe to tarp if the storm has completely passed, the roof is accessible with proper ladders and safety gear, and the damage is limited without compromising the roof structure. However, it is not safe to tarp if there’s ongoing lightning or high winds, if you’re unsure about the roof’s structural integrity, or if the slope is steep or the roofing is slick with water. If you’re unsure or uncomfortable, always contact a professional. Your safety is more important than a temporary fix.
Tools and Materials You’ll Need
Here’s what you’ll need for DIY roof tarp installation:
- A heavy-duty waterproof tarp (preferably UV resistant)
- 2×4 wooden boards to secure the edges
- Screws or nails
- A hammer or power drill
- Roofing nails or cap nails
- A safety harness and fall protection gear
- Work gloves and non-slip shoes
- An extension ladder
How to Choose the Right Tarp
Not all tarps are equal. For roof storm damage, choose one that is big enough to cover damaged areas with three to four feet of overlap. Make sure the material is polyethylene or vinyl, both waterproof and tear-resistant. While blue tarps are common, UV-resistant black tarps may last longer. Also, check that the tarp is free of holes and reinforced along the edges for easier fastening.
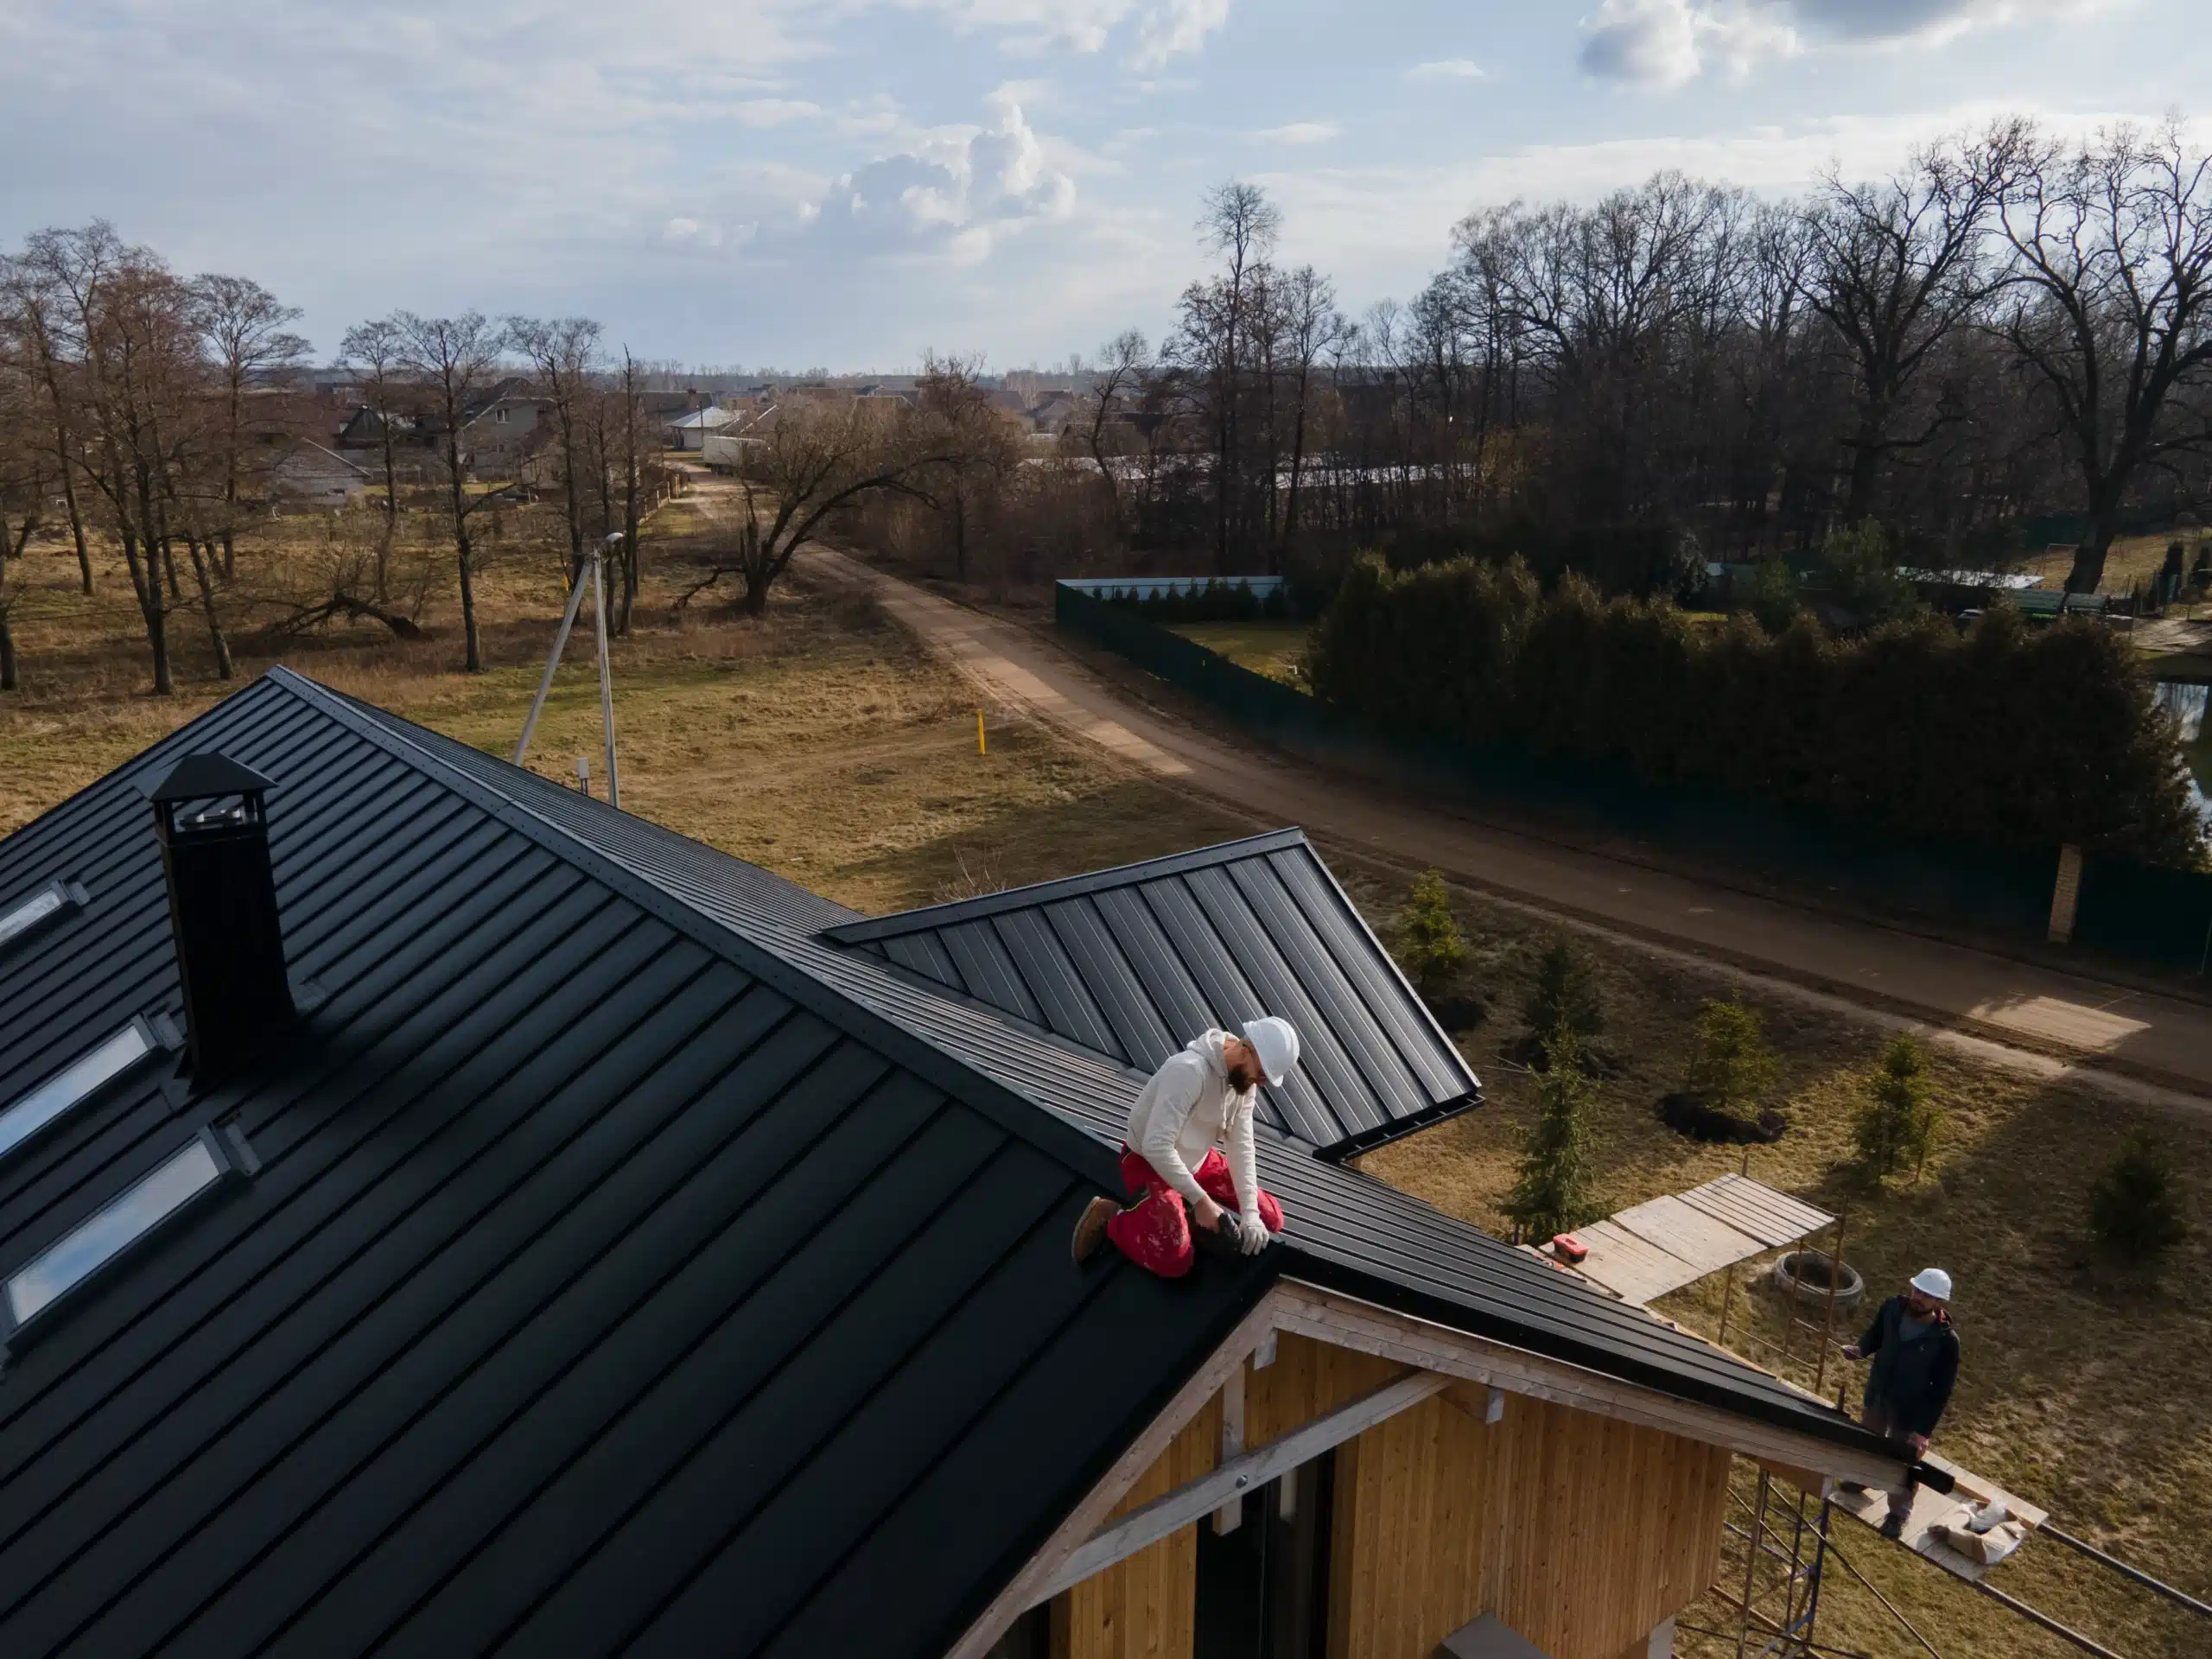
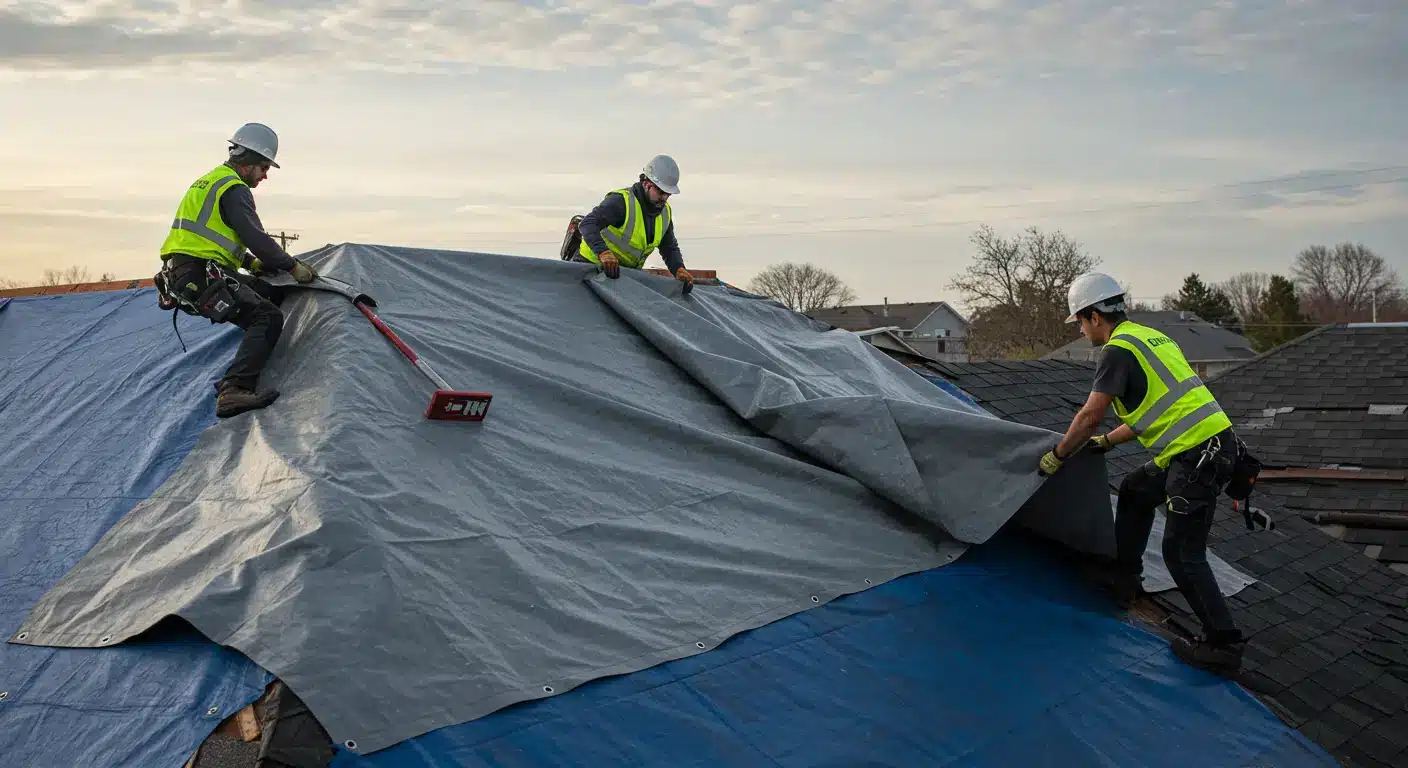
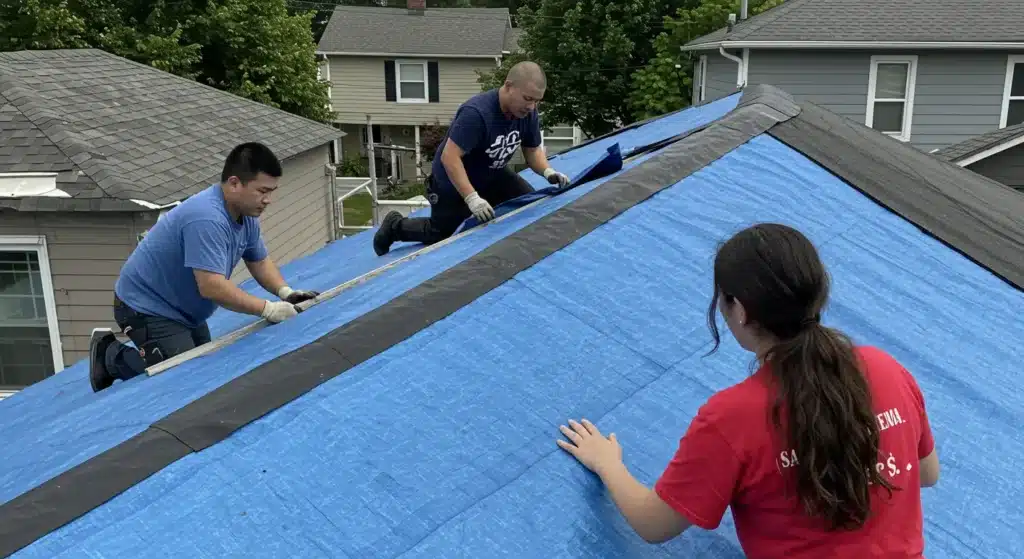
Step-by-Step Instructions on How to Tarp a Roof
- Start by inspecting the damage from the ground using binoculars.
- Once safe, set up your safety equipment, including a harness and roof anchor, and always have someone assisting you.
- Carefully remove loose debris like branches or broken shingles.
- Position the tarp over the damaged area, ensuring it extends well beyond the affected zone to keep water out.
- Place 2×4 boards along the tarp edges, wrapping the tarp around them to anchor securely.
- Secure the boards with screws or nails, making sure to drill or hammer into the roof sheathing and not just the shingles.
- Double-check all edges to ensure everything is tightly fastened and resistant to wind.
For more details, check out this GAF: How to Temporarily Tarp a Roof guide.
Roof Tarping Safety Tips
Never tarp in poor weather conditions. Always use a buddy system when working on the roof. Wear proper footwear and gloves, and avoid standing on damaged sections of the roof. Your safety is paramount.
For more emergency roof repair tips, visit Angi’s guide.
How Long a Roof Tarp Can Last
Most temporary tarps can last from 30 to 90 days, depending on material quality and weather exposure. In high-heat or storm-prone areas like Louisiana, tarps may degrade faster. Pro tip: Reinforce your tarp setup and inspect it weekly if you need to extend usage.
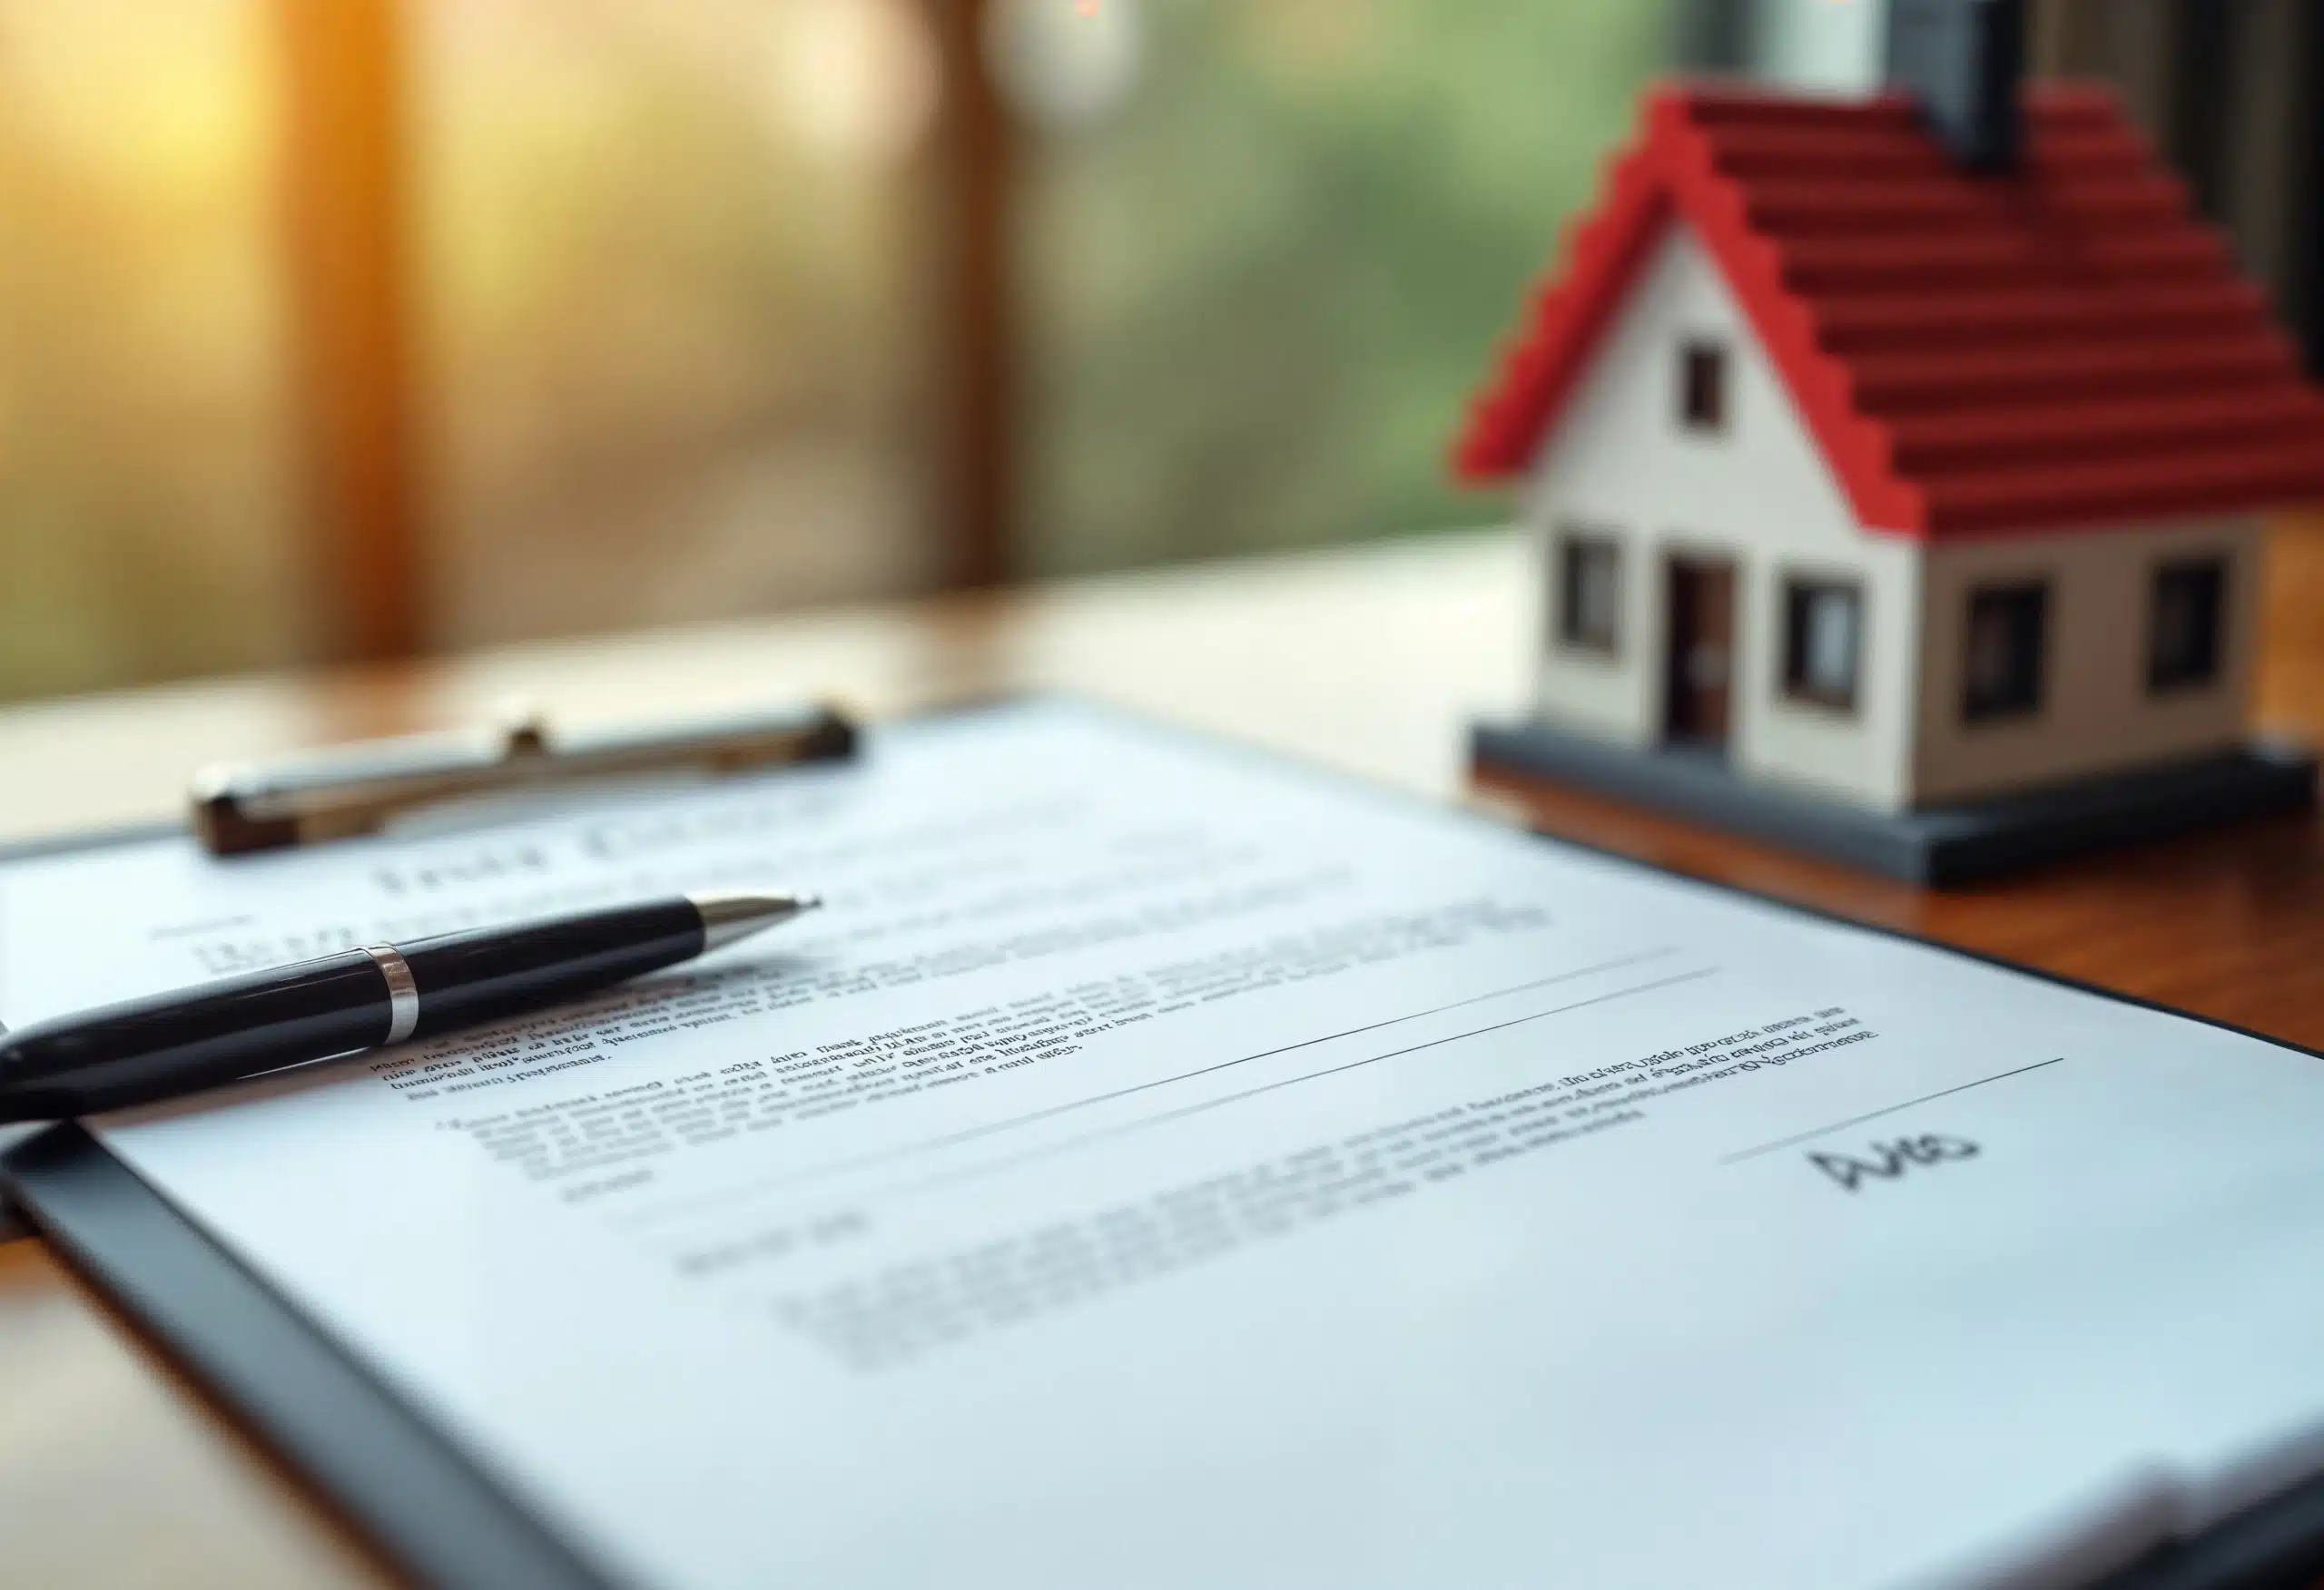
Estimated Costs for DIY vs. Professional Tarping
| Option | Estimated Cost |
| DIY Roof Tarp | $150–$300 (materials) |
| Professional Tarping | $200–$1,000+ depending on size and urgency |
While DIY is cheaper upfront, professionals bring speed, expertise, and safety. For a long-term fix, consider this guide on roof replacement.
Next Steps After Tarping
Tarping is a temporary fix. Here’s what to do next: Document the damage for your insurance claim with photos and notes, schedule a professional roof inspection, get a repair or replacement quote, and explore long-term solutions like a Fortified roof system.
FAQs About Tarping a Roof After a Storm
What is the best way to tarp a roof?
Use a heavy-duty tarp that extends three to four feet beyond the damage. Anchor it with 2×4 boards and screws into the roof decking—not just shingles. Always prioritize safety and inspect it regularly.
Can I tarp a roof by myself?
Technically, yes, but it’s not recommended. Always have someone with you, use safety gear, and consider hiring help if the damage is extensive or the roof is steep.
How much does it cost to tarp a roof?
DIY tarp kits can cost $150–$300. Hiring professionals may range from $200 to $1,000 or more, depending on the complexity and urgency.
Is it safe to tarp a roof after a storm?
Only if the storm has passed and the structure is safe to access. Always wear safety gear, use stable ladders, and avoid working in wet or windy conditions.
How long can you leave a tarp on a roof?
Anywhere from 30 to 90 days. In Louisiana’s hot and humid climate, inspect frequently for wear and tear. For lasting protection, schedule repairs promptly.
What type of tarp is best for long-term roof protection?
Look for UV-resistant polyethylene tarps or vinyl tarps with reinforced edges and grommets. These materials provide better durability under sun, rain, and wind exposure.
Will my homeowner’s insurance cover the cost of a roof tarp?
It depends on your policy, but most homeowners’ insurance covers emergency roof repair measures like tarping when related to storm damage. Be sure to document everything and contact your provider.
Do I need a permit to tarp my roof?
In most cases, no. Tarping is considered emergency maintenance. However, if you’re making structural changes or live in a regulated area, check with your local building department.
Can a roof tarp withstand strong winds?
Properly installed tarps can handle moderate wind, but high-speed gusts may rip them off. Use heavy-duty tarps and securely fasten them with 2x4s and screws to maximize wind resistance.
What should I do if water is already leaking into my attic or home?
Place buckets or containers to catch water indoors and remove valuables from the area. Then tarp the roof as soon as it is safe, or contact a professional for emergency roof repair.
Protecting your home starts with timely action. If your roof has been damaged in a storm, don’t wait. Book a Free Roof Inspection Today and let our experts guide you through the next steps.