A leaking roof is more than just a nuisance; it’s a potential source of serious water damage, mold growth, and costly structural issues. Whether you’re dealing with a steady drip during a storm or have discovered water stains on your ceiling, knowing how to patch a roof leak can save you time and money while you wait for professional help.
This guide will walk you through how to spot leaks, the tools and materials you’ll need, how to temporarily patch a roof leak on various roofing types, and when to stop patching and call in a professional. We’ll also help you understand how long these patches last, what roof leak repair products to use, and how to avoid future problems.
Signs You Have a Roof Leak
Catching a leak early is the key to minimizing damage. Be on the lookout for these telltale signs:
- Water stains on ceilings or walls: Yellow or brown spots on drywall may indicate roof leakage above.
- Mold or mildew odor: Persistent dampness and musty smells, especially in the attic, often signal water intrusion.
- Visible drips: During a storm, look for active leaks in ceilings or around windows.
- Missing or damaged shingles: Cracked, curled, or missing shingles can expose the underlayment to water.
- Granule loss: Bald spots on shingles or granules in gutters indicate deteriorating roofing material.
- Wet attic insulation: A damp attic is one of the first indicators of a leak.
- Peeling paint or bubbling plaster: Interior water damage often traces back to the roof.
Pro Tip: If the leak isn’t obvious, inspect the attic during daylight. Look for streams of sunlight coming through the roof boards and trace moisture trails.
Tools & Materials You’ll Need
Before you begin your DIY roof repair, gather all necessary tools and materials:
Essential Tools:
- Ladder with stabilizer arms
- Rubber-soled boots
- Safety harness and roof anchor
- Utility knife or shears
- Caulking gun
- Putty knife
- Flashlight (for attic inspection)
Repair Materials:
- Roof leak sealant (choose type based on roof material)
- Roofing tape (butyl or rubberized)
- Roofing cement or asphalt mastic
- Spare shingles (asphalt or composite)
- Sheet metal for flashing (for metal roofs)
- Peel-and-stick underlayment
- Blue tarp and nails or sandbags
- Roofing nails and a hammer
All of these can be found at major retailers like Lowe’s, which carries a wide selection of roof repair supplies.
Roof Repair Safety Tips Before You Begin
Roof work is hazardous. It’s critical to follow safety procedures before starting your DIY roof repair:
- Never work on a wet roof. Wait until the surface is dry to prevent slipping.
- Always use a ladder stabilizer to protect gutters and improve balance.
- Wear proper gear: shoes with grip, gloves, and a safety harness are musts.
- Use a fall arrest system with roof anchors and lifelines when working on steep slopes.
- Check the weather: Choose a clear day to avoid wind or rain.
- Have a helper nearby: Never climb alone in case of emergency.
Disclaimer: These are emergency roof patch methods only. Always schedule a free roof inspection for a full diagnosis and repair.
Step-by-Step: How to Patch Different Types of Roofs
Roof leaks occur on all types of materials, but each requires a slightly different repair approach.
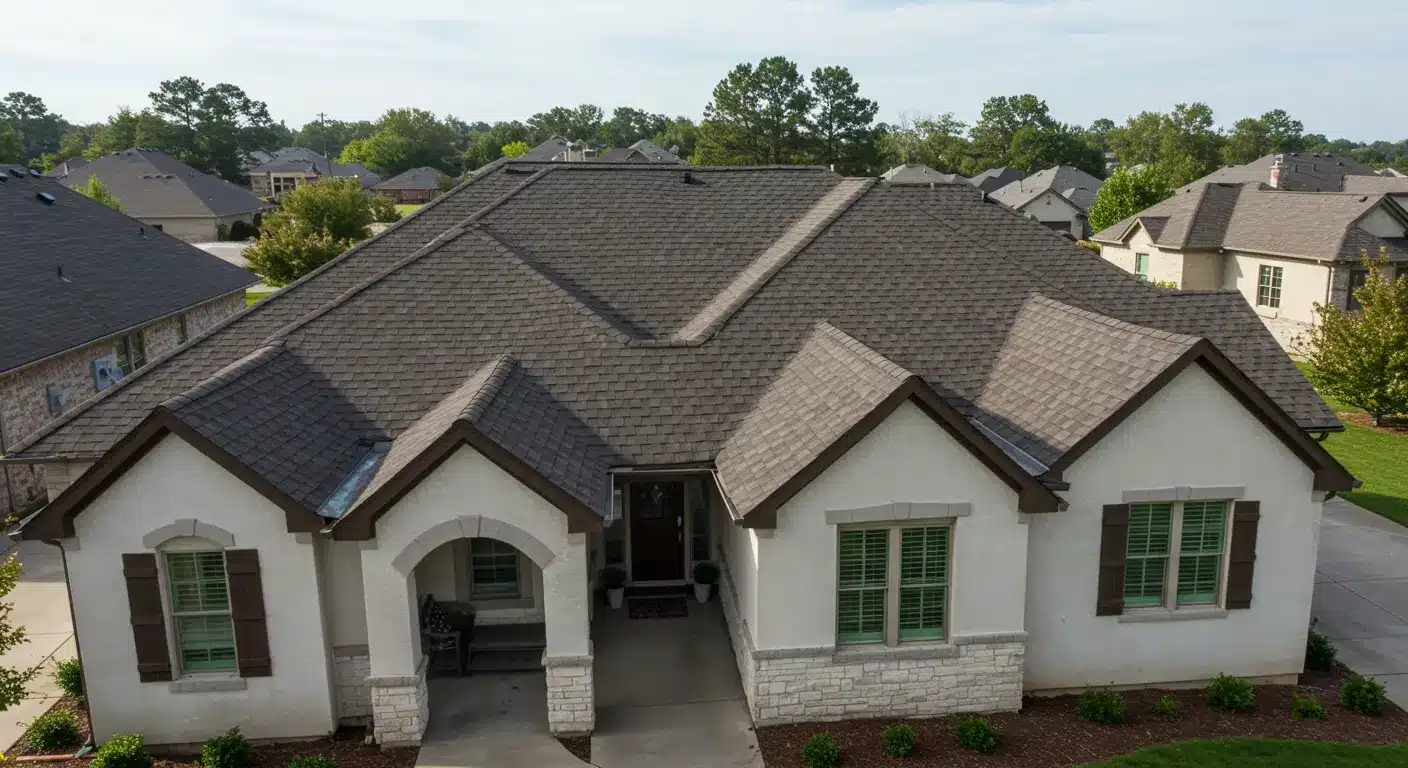
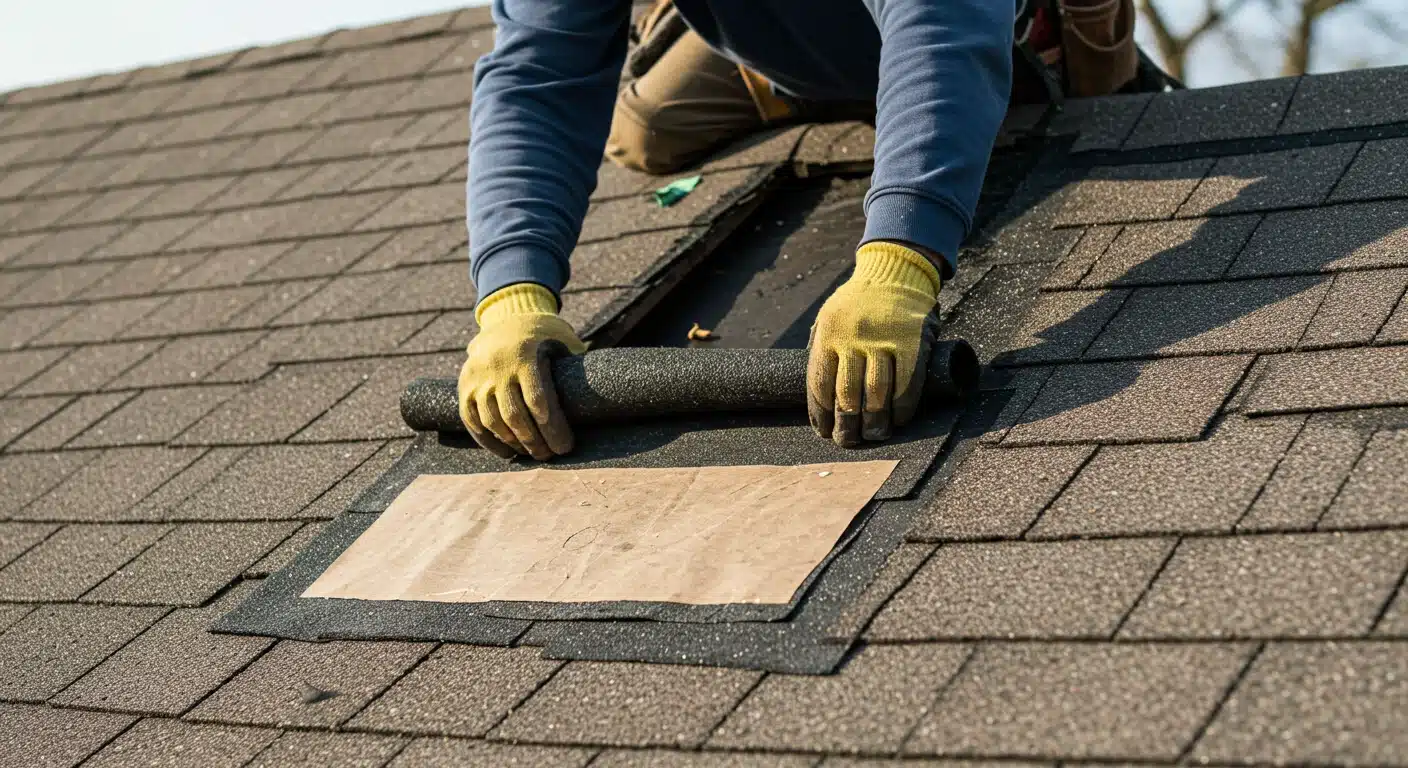
Asphalt Shingle Roof
The most common residential roofing type. To repair:
- Locate the leak: Trace water inside to the exterior. Look above the leak for curled, cracked, or missing shingles.
- Lift the damaged shingle: Carefully lift the shingle above the damaged one to expose the nails.
- Remove nails and damaged shingles: Use a pry bar to take out nails holding the bad shingles.
- Slide in a new shingle: Align a replacement in the gap and secure it with nails.
- Seal edges with roofing cement: Apply cement under the top and sides to ensure waterproofing.
This method is the best way to patch a roof shingle temporarily.
Metal Roof
- Clean and dry the area: Remove debris and rust. Use a degreaser if needed.
- Apply metal roof patch tape: Cover the crack or hole with self-adhesive waterproof tape.
- Use roof leak sealant: Apply silicone or urethane sealant around and over the tape.
- Smooth with a putty knife: Remove air bubbles and ensure good contact.
Flat Roof (EPDM, TPO, Bitumen)
- Identify the tear or blister: Use a roller or hand pressure to test for soft spots.
- Cut away damaged area: Remove delaminated or bubbled membrane sections.
- Clean the surface: Wipe down with solvent or primer.
- Apply roofing fabric and cement: Place polyester fabric over the hole, then seal with rubberized compound.
- Roll and press: Ensure the patch is flush with the surrounding surface.
What Products to Use for Temporary Fixes

Here are expert-recommended roof leak repair products that offer immediate results:
Best Emergency Sealants:
- Flex Seal Liquid Rubber – Flexible and UV-resistant
- Henry Wet Patch Roof Cement – Bonds even in wet conditions
- Black Jack All-Weather Roof Cement – Durable in cold and rain
- Gorilla Waterproof Patch & Seal Tape – Instant adhesion for quick fixes
Best for Flat Roofs:
- Dicor Lap Sealant – Especially for RV and mobile home roofs
- EternaBond Tape – Long-lasting patch for EPDM, TPO, and metal
For more recommendations, refer to FEMA emergency roof repair guidelines.
When to Call a Roofing Professional
While temporary roof leak fixes can stop immediate water intrusion, they aren’t long-term solutions. Contact a pro when:
- You’ve patched the same area more than once
- The leak is near wiring, chimneys, or skylights
- Multiple shingles or entire sections are loose or missing
- The leak occurs during every storm
- Sagging or rotting is visible in the roof decking or attic
Book a free roof inspection today and get expert insight into whether you need a repair or a full replacement.
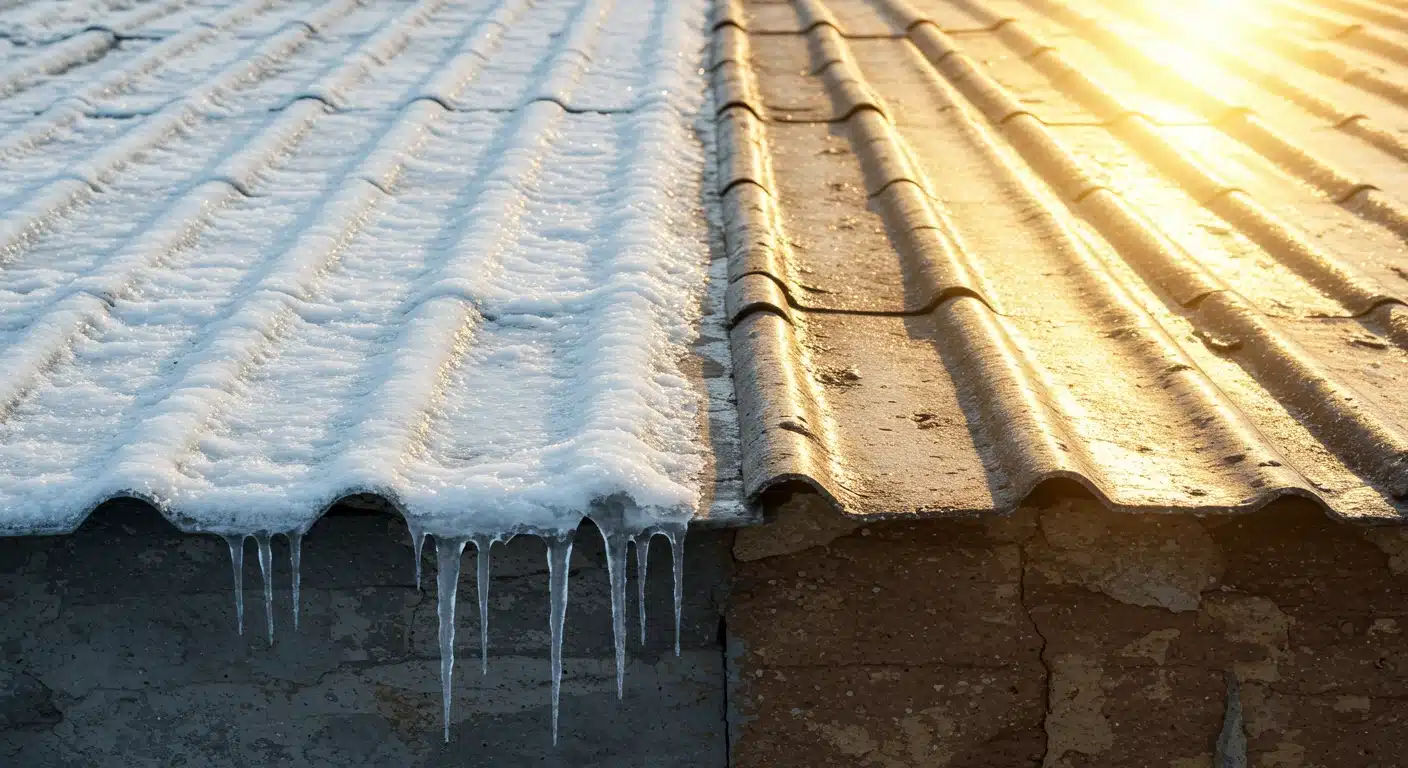
How to Prevent Future Leaks
The best fix is prevention. Here’s how to reduce your risk of repeat leaks:
- Annual roof inspections – Have your roof checked professionally once a year
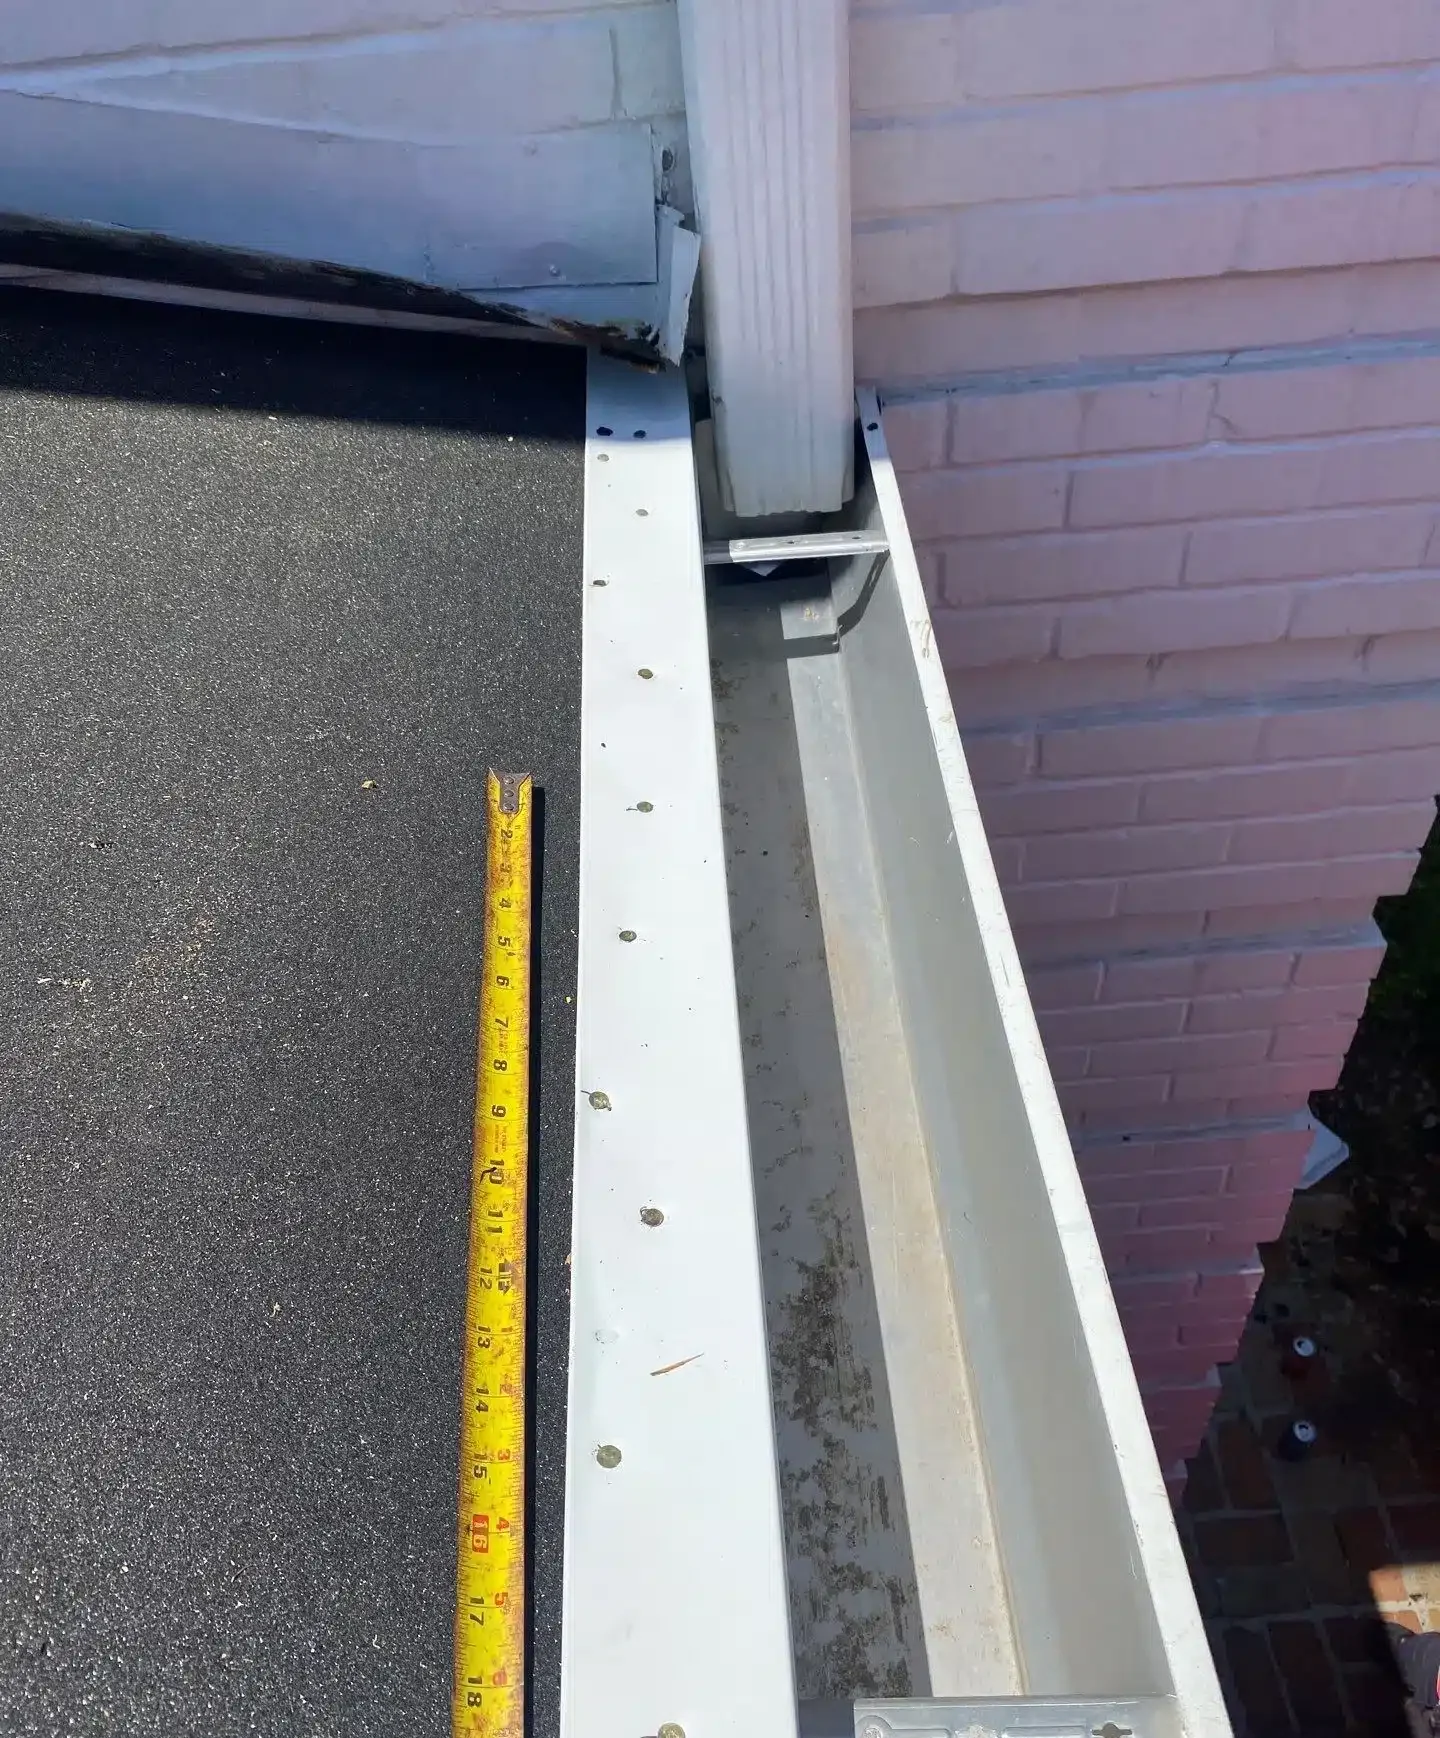
- Clean gutters – Clogged downspouts cause water to back up and seep into shingles
- Trim overhanging branches – Falling limbs are a top cause of roof damage
- Inspect flashing – Around chimneys, skylights, and vents, flashing failures are common leak sources
- Upgrade attic insulation – Prevents ice dams and condensation buildup
- Install proper ventilation – Avoids moisture trapping beneath the roof deck
Learn more about how long your roof might last with our roof replacement timeline and what to expect in roof replacement cost.
Emergency Patch Kits and DIY Solutions
In urgent situations, a pre-assembled emergency roof patch kit can be a homeowner’s best friend. These are widely available and include:
Blue Roof Tarp System
Used after hurricanes, these include:
- Waterproof tarps
- Sandbags or weighted anchors
- Screws with washers
- Furring strips
Quick Patch Kits
Include:
- Rubberized tape
- Sealant tubes
- Protective gloves
- Fabric mesh
- Instructions for fast application
Keep one in your garage or storm prep kit for fast response.
Realistic Expectations for Patch Durability
Temporary patches are exactly that: temporary. Here’s how long they typically last:
| Patch Type | Durability Estimate |
| Roof tarp with sandbags | 1–3 days |
| Roofing tape | 1–2 weeks |
| Emergency sealant | 2–4 weeks |
| DIY shingle replacement | Up to 3 months (if the weather is mild) |
For lasting protection, always schedule a professional follow-up.
Insurance Implications of DIY Repair

A common question: “Will insurance still cover my roof if I patch it myself?”
Here’s what you need to know:
- Insurance may deny claims if they believe the damage worsened due to delayed professional repair.
- Photos are key; document the leak and your temporary patch before and after.
- Call your insurer ASAP after discovering a leak. Let them know about any mitigation steps you’ve taken.
- Some policies require licensed contractors for permanent repairs or replacement.
For peace of mind, always follow up a patch with a professional inspection.
Final Thoughts
A leaking roof can be stressful, but you’re not powerless. With the right tools, products, and safety mindset, you can perform a temporary roof leak fix that protects your home until help arrives. Still, never treat a DIY patch as a permanent solution. Schedule a free roof inspection to ensure you’re not overlooking bigger issues hidden beneath the surface.
FAQs
Can I fix a roof leak myself?
Yes, minor leaks in accessible areas can often be patched using sealants, tape, or shingle replacement. However, always use extreme caution and recognize your limitations, especially when working at heights.
What is the best sealant for a roof leak?
It depends on the material. For asphalt shingles, use an asphalt-based product. For metal and flat roofs, go with a silicone or rubber-based sealant. Popular products include Henry Wet Patch, Flex Seal, and EternaBond.
How long will a roof patch last?
A quality temporary patch may last anywhere from a few days to a couple of months, depending on the materials used and weather conditions. However, these are stopgap measures, not long-term solutions.
Should I patch or replace a leaking roof?
If your roof is over 15–20 years old or has widespread damage, patching may only delay the inevitable. Full replacement is often the more cost-effective, long-term solution, especially if leaks recur or affect multiple areas.
Need expert help fast? Don’t wait! Book your free inspection and get your roof leak professionally evaluated today.