A new roof is a major investment; once the work is complete, it’s crucial to verify the job was done correctly. This post-roof installation guide walks you through everything homeowners, property managers, and real estate investors should inspect after installing a new roof. From spotting installation issues early to ensuring warranty compliance, our roofing contractor checklist ensures your peace of mind and protects your home investment.
1. Start With a Visual Inspection
Once your roofer finishes, your first step is a basic visual inspection from the ground. Use binoculars or a camera zoom for safety. This simple inspection can help catch major issues early without needing to climb onto the roof.
Look for these signs of proper installation:
- Uniform shingle alignment and spacing across the roof
- Clean roof lines without overhangs or exposed nails
- Flashing is installed properly around chimneys, skylights, and vents
- Straight ridge caps and properly sealed hips and valleys
- Drip edge flashing at the eaves and rakes to prevent water intrusion
Red flags that may indicate a bad roofing job:
- Uneven shingle lines or sagging areas
- Missing or damaged flashing
- Shingles lifting or curling
- Nails sticking out or exposed
- Inconsistent colors or materials
These can all be early signs of a bad roofing job and should be addressed immediately.
Even a newly installed roof can show early signs of problems if corners were cut during the process. If you’re unsure, consider hiring a third-party inspector.
2. Review the Roofing Quality Checklist
Ask your contractor for a roofing quality check or completion checklist. This should include every component used and confirmation that the work meets the manufacturer’s specifications.
Typical items to review on this checklist include:
- Roofing materials used (brand, type, warranty details)
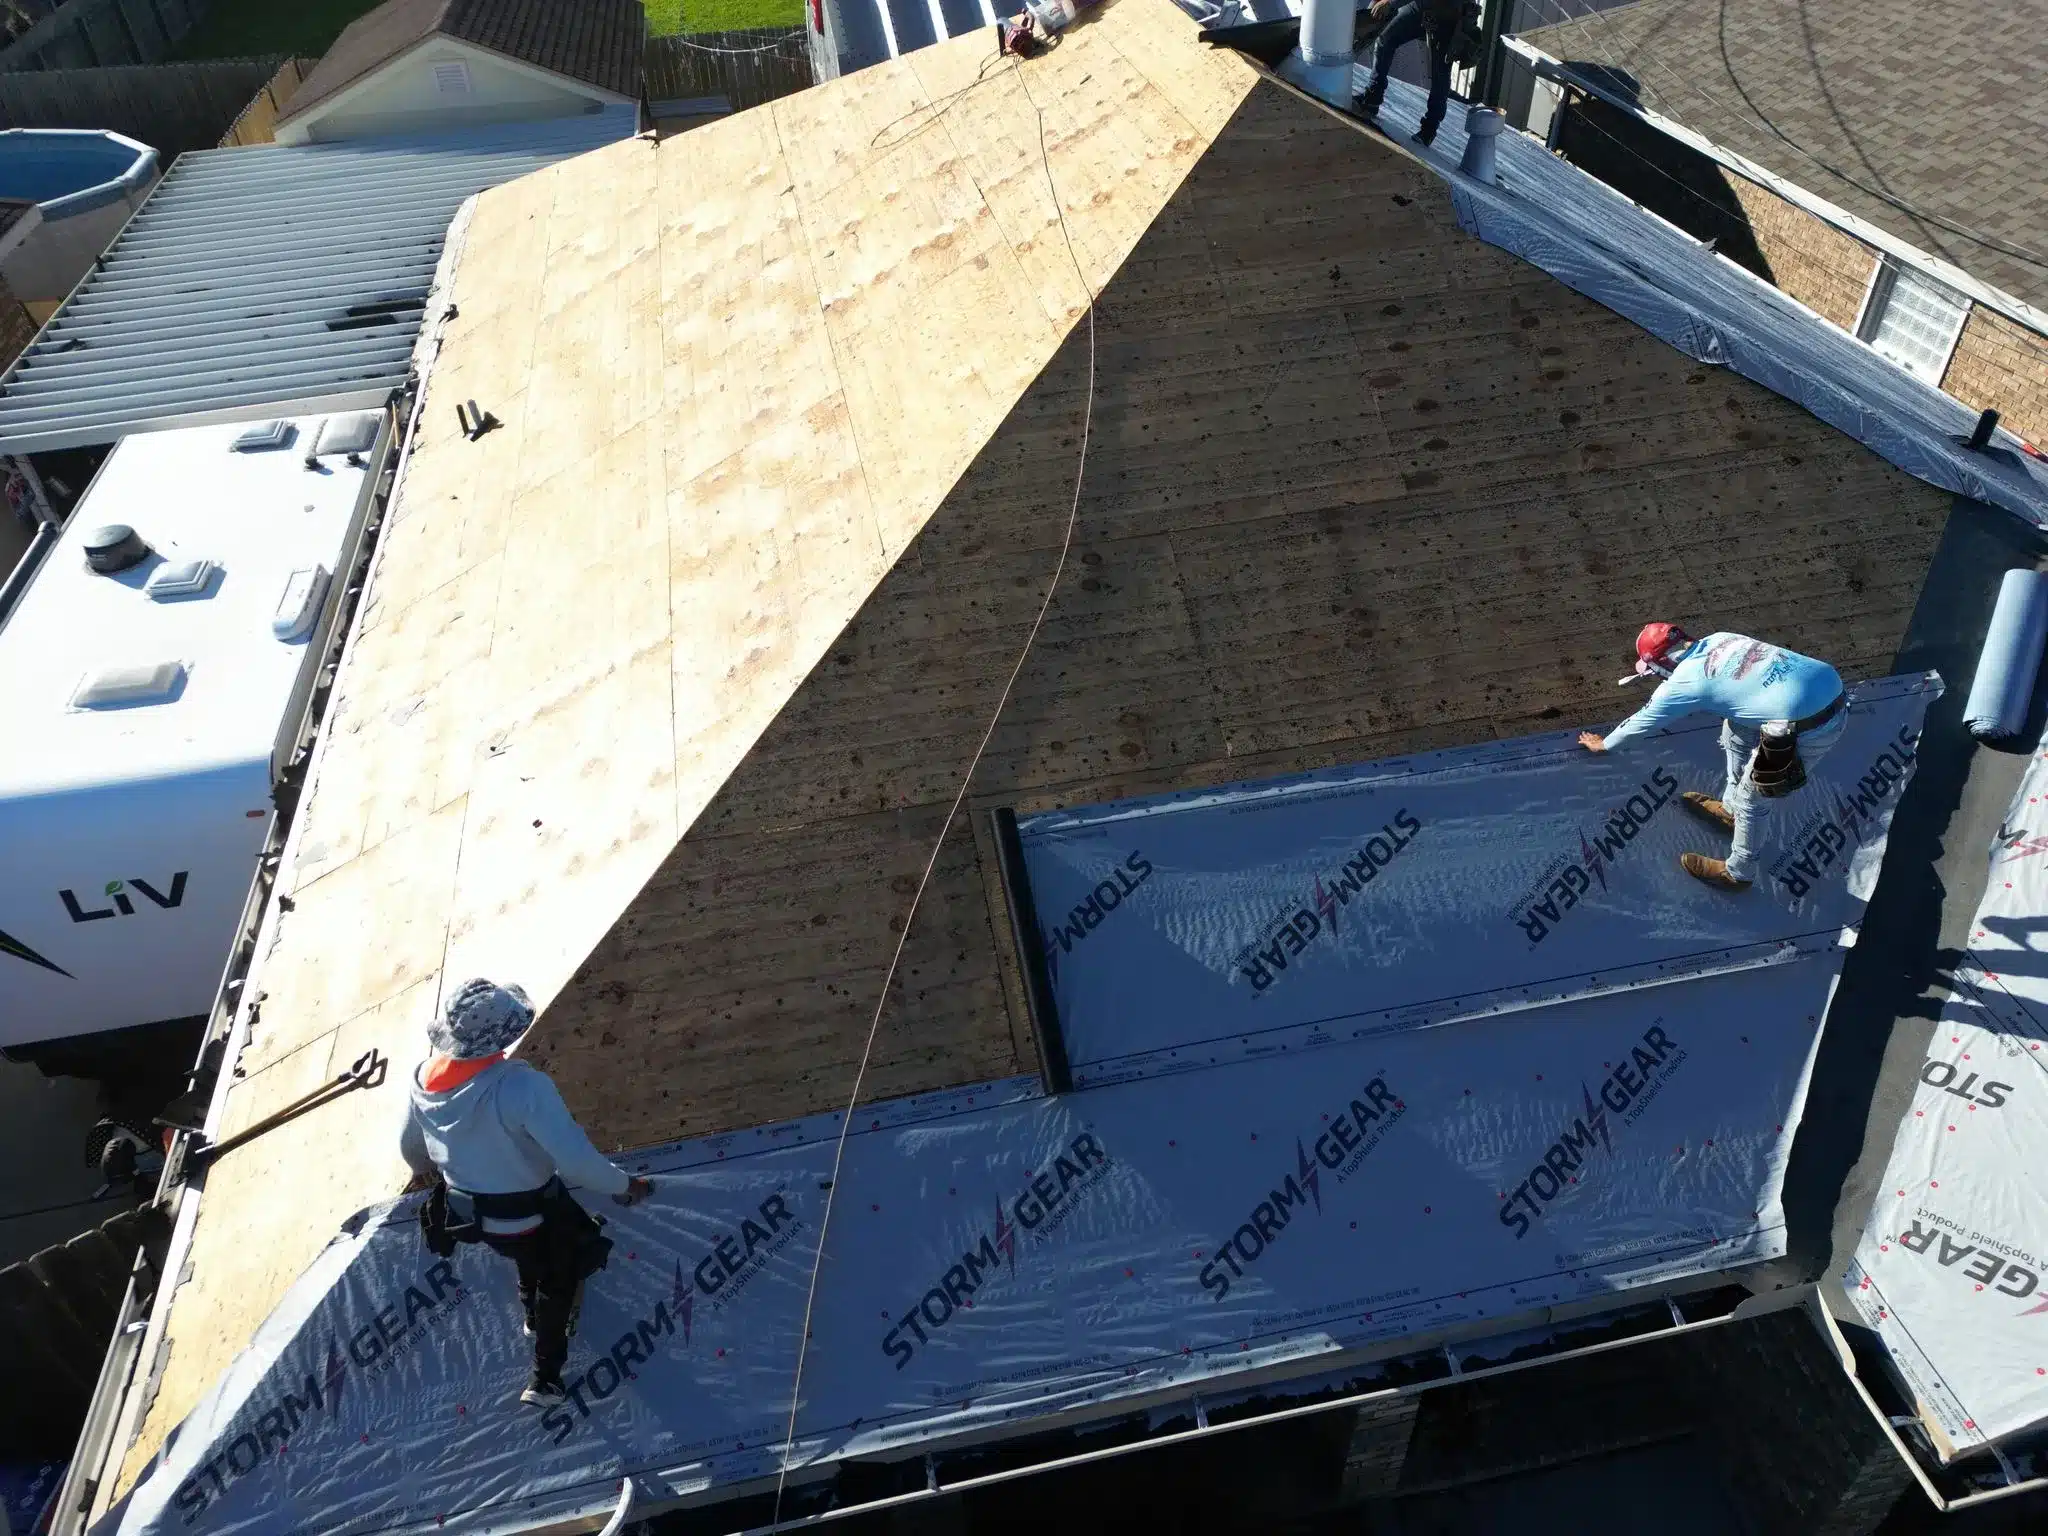
- Underlayment, ice and water shield, and flashing types
- Number and type of ventilation systems installed
- Nailing pattern and fastener compliance
- Confirmation of drip edge installation
- Cleanup and debris removal
- Photos or documentation of key installation phases
A reputable contractor will have this ready and may walk you through the document during the final inspection. This checklist not only ensures quality but is often required for warranty validation.
In regions like Louisiana, proper documentation helps in storm-prone areas where roofing must meet code and insurance standards.
If you’re located in Louisiana and want local expertise, our roofing contractors in Metairie are well-versed in regional requirements and best practices.
3. Verify Ventilation and Flashing Details
Improper ventilation is a leading cause of premature roof failure. Without adequate airflow, moisture can build up inside the attic, causing mold, rot, or damage to insulation.
Here’s what to check:
- Soffit vents should be clear of insulation or debris
- Ridge vents must be open and continuous across peaks
- Static, turbine, or powered vents should be operational
- Flashing around chimneys, walls, skylights, and valleys must be tight, clean, and sealed
- Pipe boots need to be intact and watertight with no cracks
Any missing, dented, or improperly sealed flashing can lead to leaks and costly repairs. The National Roofing Contractors Association (NRCA) offers flashing installation guidelines you can reference or ask your roofer about.
4. Check the Paperwork and Warranty
Documentation is just as important as the physical roof. It protects your investment and provides legal protection in case of defects or future damage.
Here’s what to confirm:
- Manufacturer’s warranty: Covers defects in materials (usually 25–50 years)
- Workmanship warranty: Covers installation errors (typically 1–10 years)
- Warranty registration: Some require you or your contractor to register within a specific window
- Transferability: Especially important for real estate investors, or if you plan to sell your home
- Required maintenance: Know what voids the warranty and what’s expected annually
Keep copies of all estimates, invoices, permits, lien waivers, and inspection reports. If you’re wondering what your home warranty might cover, see this guide: Does home warranty cover roof?
A roof warranty inspection ensures all installation standards are met and documented, which is often required to maintain your coverage.
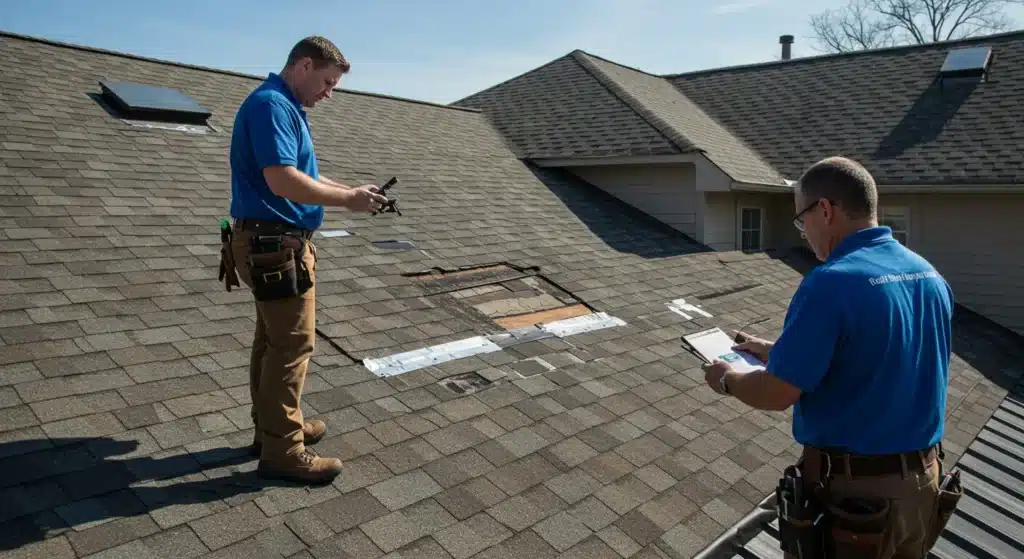
5. Schedule a Final Walkthrough With Your Contractor
Before making the final payment, schedule a final roof walkthrough with your roofer. This is your opportunity to ensure every aspect of the job is completed correctly.
What to do during your walkthrough:
- Walk the property and inspect the roof from multiple angles
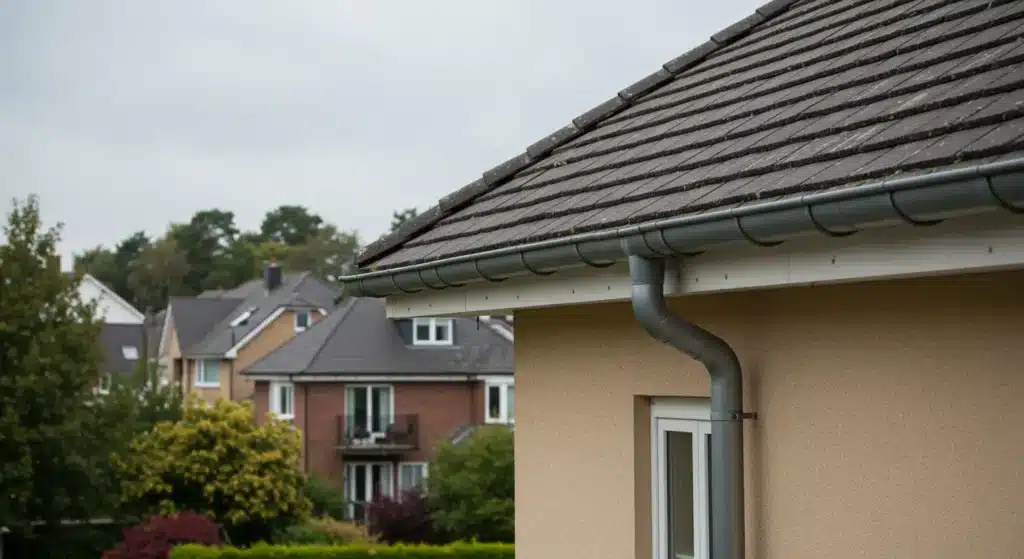
- Inspect gutters and downspouts for debris and proper reattachment
- Check the attic: No light should shine through the decking, and there should be no signs of water
- Ask your roofer to explain each installation component, including the materials used and ventilation setup
- Photograph key areas like flashing, vents, and valleys for records
If the contractor used a drone or photo documentation during installation, request access to those images.
Don’t feel rushed, this is your last chance to identify potential problems while the crew is still available to fix them.
6. Plan for Long-Term Maintenance
Even the best-installed roofs need occasional care. Consider seasonal inspections, especially after hurricanes or strong storms. Signs of wear can include granule loss, lifted shingles, or mold and algae buildup.
If you’re seeing discoloration or green growth on shingles, check out our guide to remove moss from the roof.
You should also:
- Clean your gutters twice a year
- Check roof edges and valleys after wind events
- Document any damage for insurance claims
- Keep a file of all roof-related documents and inspections
If you’re unsure how often a roof needs to be replaced, we cover that in another helpful post.
7. Compare Your Roof to Local Building Codes
Building codes vary by region, and ensuring your new roof meets local requirements is essential for long-term durability, safety, and insurance compliance, especially in high-risk areas like Louisiana.
Why building codes matter:
- Code violations can void insurance claims
- Improper installations may lead to fines or require rework
- Local standards are designed to withstand regional weather patterns (e.g., hurricane resistance)
Key areas to compare:
- Fastening systems: In storm-prone areas, additional nails or specialized fasteners may be required
- Underlayment materials: Code may require specific waterproofing or fire-rated materials
- Ventilation requirements: Many municipalities mandate a minimum airflow rate in attic spaces
- Decking and slope: Certain slopes and deck reinforcements may be mandatory for water runoff and snow loads
Ask your contractor to provide proof of compliance. You can also check with your local permitting office or visit your parish or city’s building code website. If your contractor didn’t pull permits, that’s a major red flag.
Final Thoughts: Protect Your Investment
A thorough post-installation inspection ensures your roof performs as promised. Don’t overlook the importance of checking your new roof; what you catch early can save thousands later.
This guide should help you confidently assess your new roof’s quality, paperwork, and compliance. If you have concerns or your inspection reveals issues, contact us for expert assistance with inspections, repairs, or warranty support.
FAQs: What to Know After a New Roof Installation
How do I know if my new roof is installed correctly?
Look for clean lines, uniform shingles, sealed flashing, and no exposed nails. A properly installed roof should have no sagging, misaligned components, or leftover debris. A walkthrough with your contractor and comparison to your checklist is the best way to confirm.
What should a roof inspection include?
Your inspection should cover flashing, ventilation, shingle alignment, attic leaks, and the overall installation quality. Also, review documentation, confirm warranties, and check for code compliance.
What are common roofing installation issues?
Frequent problems include:
- Improper flashing installation
- Inadequate ventilation
- Misaligned or overdriven nails
- Missing drip edges
- Inconsistent materials
What should I ask my roofer after installation?
Ask about:
- Material and warranty documentation
- Confirmation of ventilation and flashing components
- Roof maintenance requirements
- Final inspection photos or report
Make sure you understand any required maintenance to keep your warranty valid.
How long should a roof last after installation?
A well-installed roof can last anywhere from 20 to 50 years, depending on the type of roofing materials used. Asphalt shingles typically last 20-30 years, while metal and tile roofs can last 40-50 years. Regular maintenance can extend the lifespan of your roof.
What can cause a roof to fail prematurely?
Common causes of premature roof failure include poor installation, inadequate ventilation, low-quality materials, storm damage, and lack of regular maintenance. It’s essential to inspect your roof regularly and address issues as soon as they arise to prevent early failure.
Should I keep my roof installation documents after the job is complete?
Yes! Keep all roofing documents, including warranties, invoices, permits, and the contractor’s checklist. These documents are crucial if issues arise and for ensuring warranty coverage. You may also need them for future roof repairs or replacement.
How often should I inspect my roof after installation?
It’s recommended to inspect your roof at least twice a year, once in the spring and once in the fall. You should also check it after major weather events like storms or hurricanes, as these can cause damage that may go unnoticed.
This post roof installation guide walks you through every step to help you verify quality and protect your investment.